Configure Plugins
In this section we will configure some of the plugins that you have installed from the previous section.
info
Please make sure that you have Activated the plugins from the previous section before you start configuring them.
Configuration#
The plugins which require some additional configuration are mentioned below with the steps you need to follow to configure them.
Please follow the steps properly to complete the configuration of the plugins.
1. WooStore Pro Api#
After you have installed the plugin, you will need to activate it with the purchase code you got from codecanyon.
Please follow this link to get your purchase code: https://help.market.envato.com/hc/en-us/articles/202822600-Where-Is-My-Purchase-Code-
Once you have activated the plugin you can set up the required information for your application to work with.
1. Set up your JWT Authentication Secret Key.#
This is your secret JWT key which makes your application secure and protects your user’s data while transferring via network calls. You need to set up a cryptographically secure key in this field. You can copy one from here: https://api.wordpress.org/secret-key/1.1/salt/
You will see some values like the following:
and you can select any of the value from the above. For example the value for key SECURE_AUTH_KEY would be
After you’ve set the value, press the save button to save it in the database.
2. Setup your Firebase Server Api Key#
This key is used to send push notifications to your user when their order status changes. If you do not set this value correctly, push notification will not work.
You can get this key when you will set up your application with firebase in this section Setup Firebase - Cloud Messaging
3. Order status title and order status message#
This is the title and body of the push notification that will be sent to your customers when their order status is changed.
2. WooCommerce#
The first time you activate woocommerce, it starts a wizard to setup your store. Please complete the setup for your store according to your business requirements.
You can also set up the Advanced Shipment Tracking plugin with WooCommerce by reading its description to best suit your needs.
Now you need to create some Rest Api Keys which will be used in the application to connect to your WooCommerce Store on the website.
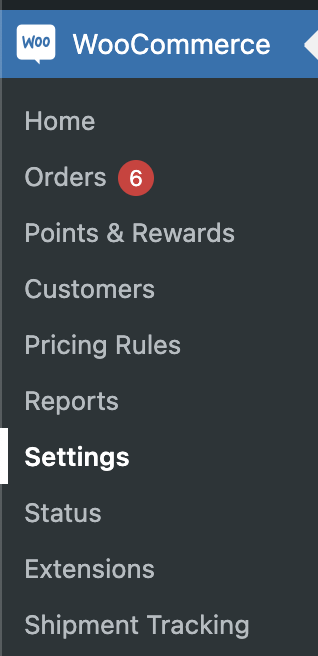
- Go to WooCommerce --> Settings from the side menu.

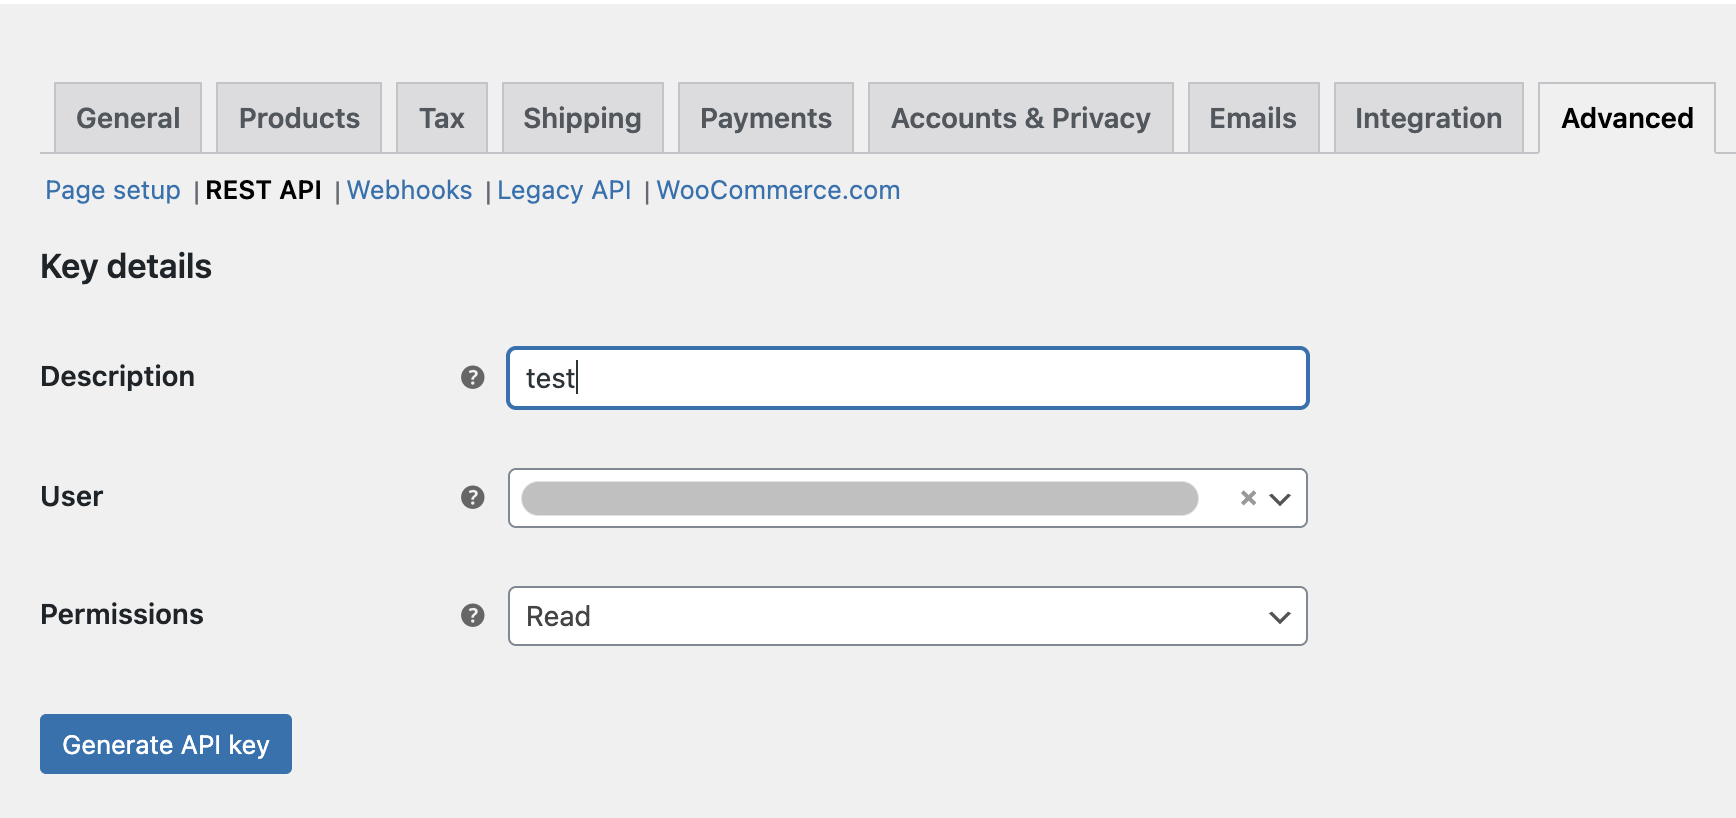
- Click on Advanced Tab from the top tabbar.
- Click on the REST API link which is located below the tabbar

Click on Add Key to create a pair of keys.
Give a Description and select a User.
Make sure the permissions are set to READ.
caution
If the permissions are set to Read/Write and someone else got these keys, BAD THINGS CAN HAPPEN TO YOUR STORE.

Click on Generate Api Key. You will be able to see the keys for one and only time so keep in mind to save them somewhere as you will need to enter them in the mobile application.
Setup for the above plugin is complete