Firebase Setup
In this section we will setup the Firebase Project and connect it with the application for both Android and iOS.
Please follow the steps properly to avoid any issues.
Create Project
Before you create a Firebase project you will need a Gmail account so please create one if you do not already have.
In this section you will create your Firebase Project by following the steps below.
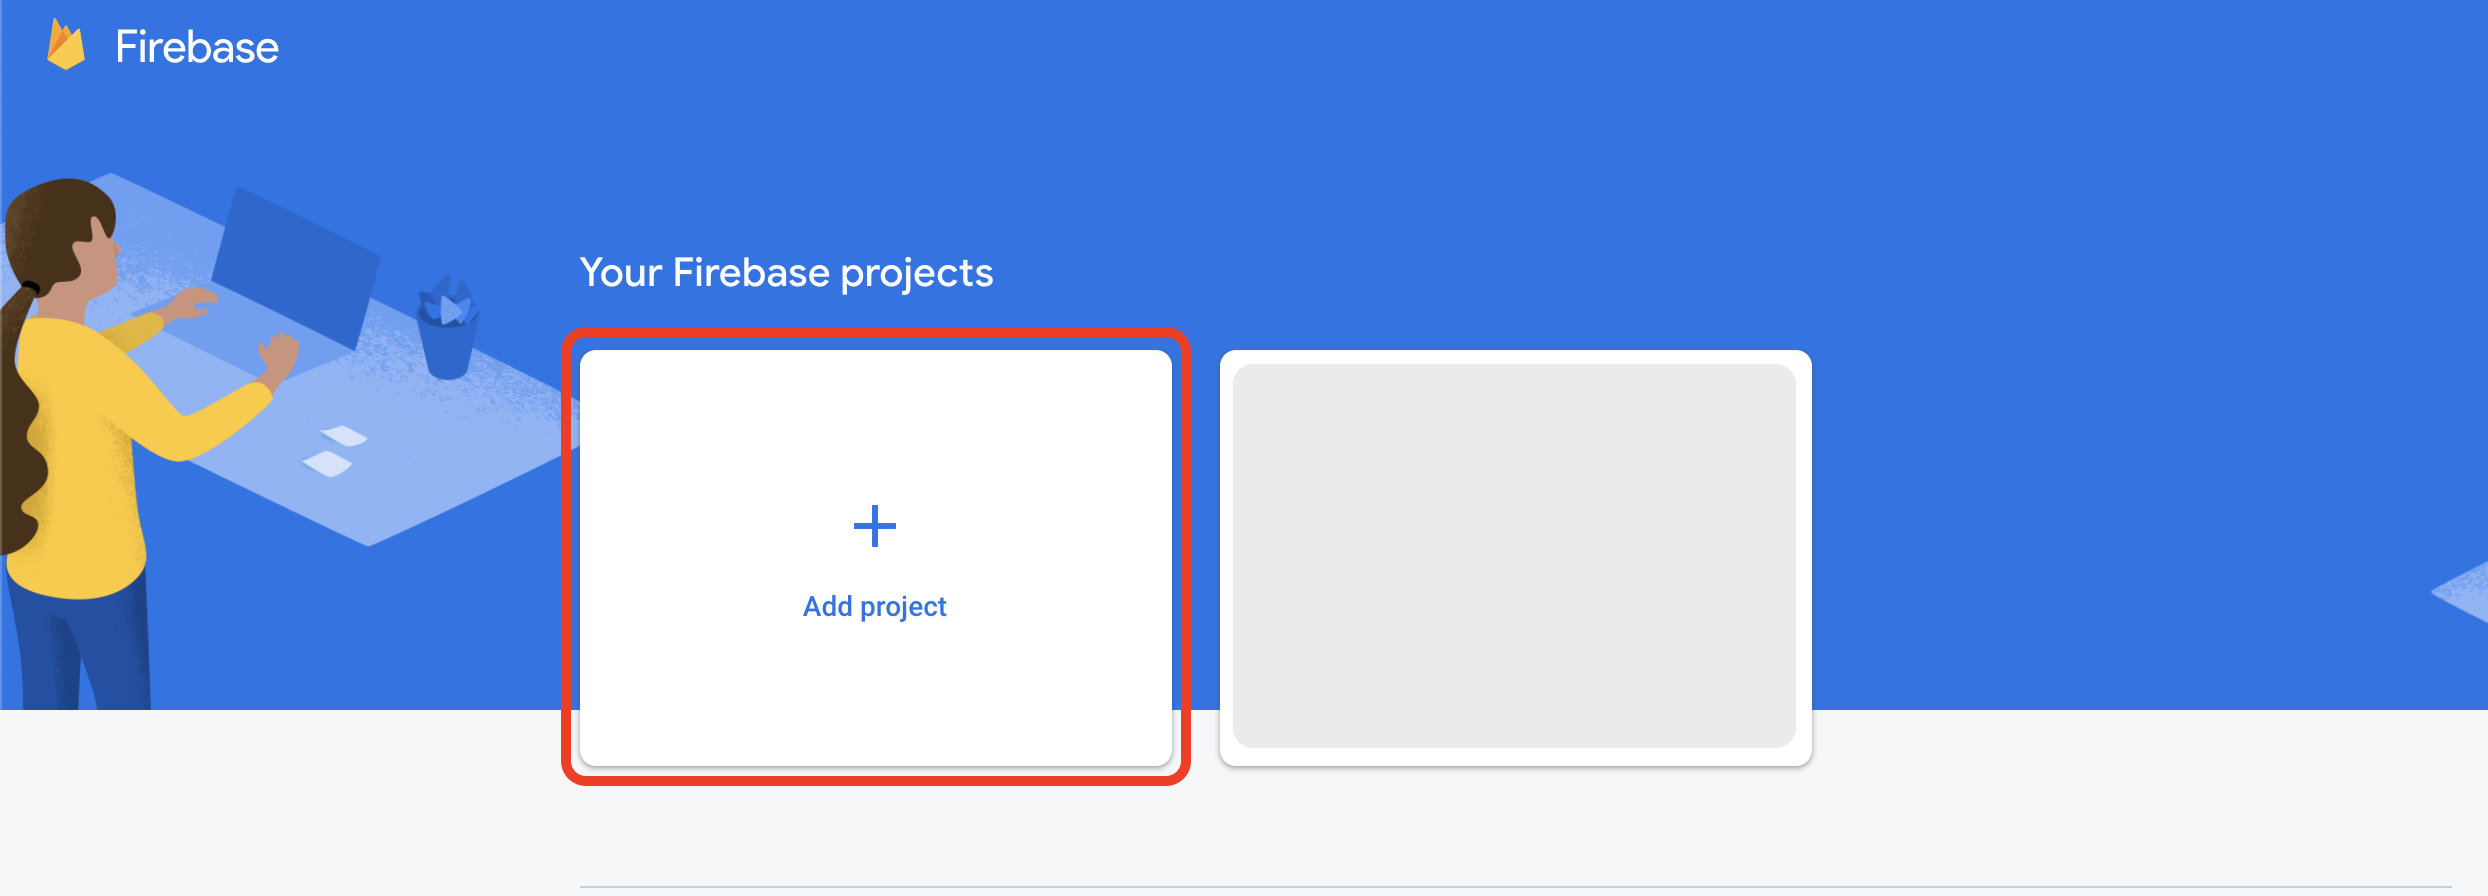
Go to Firebase Console
Click on Add Project
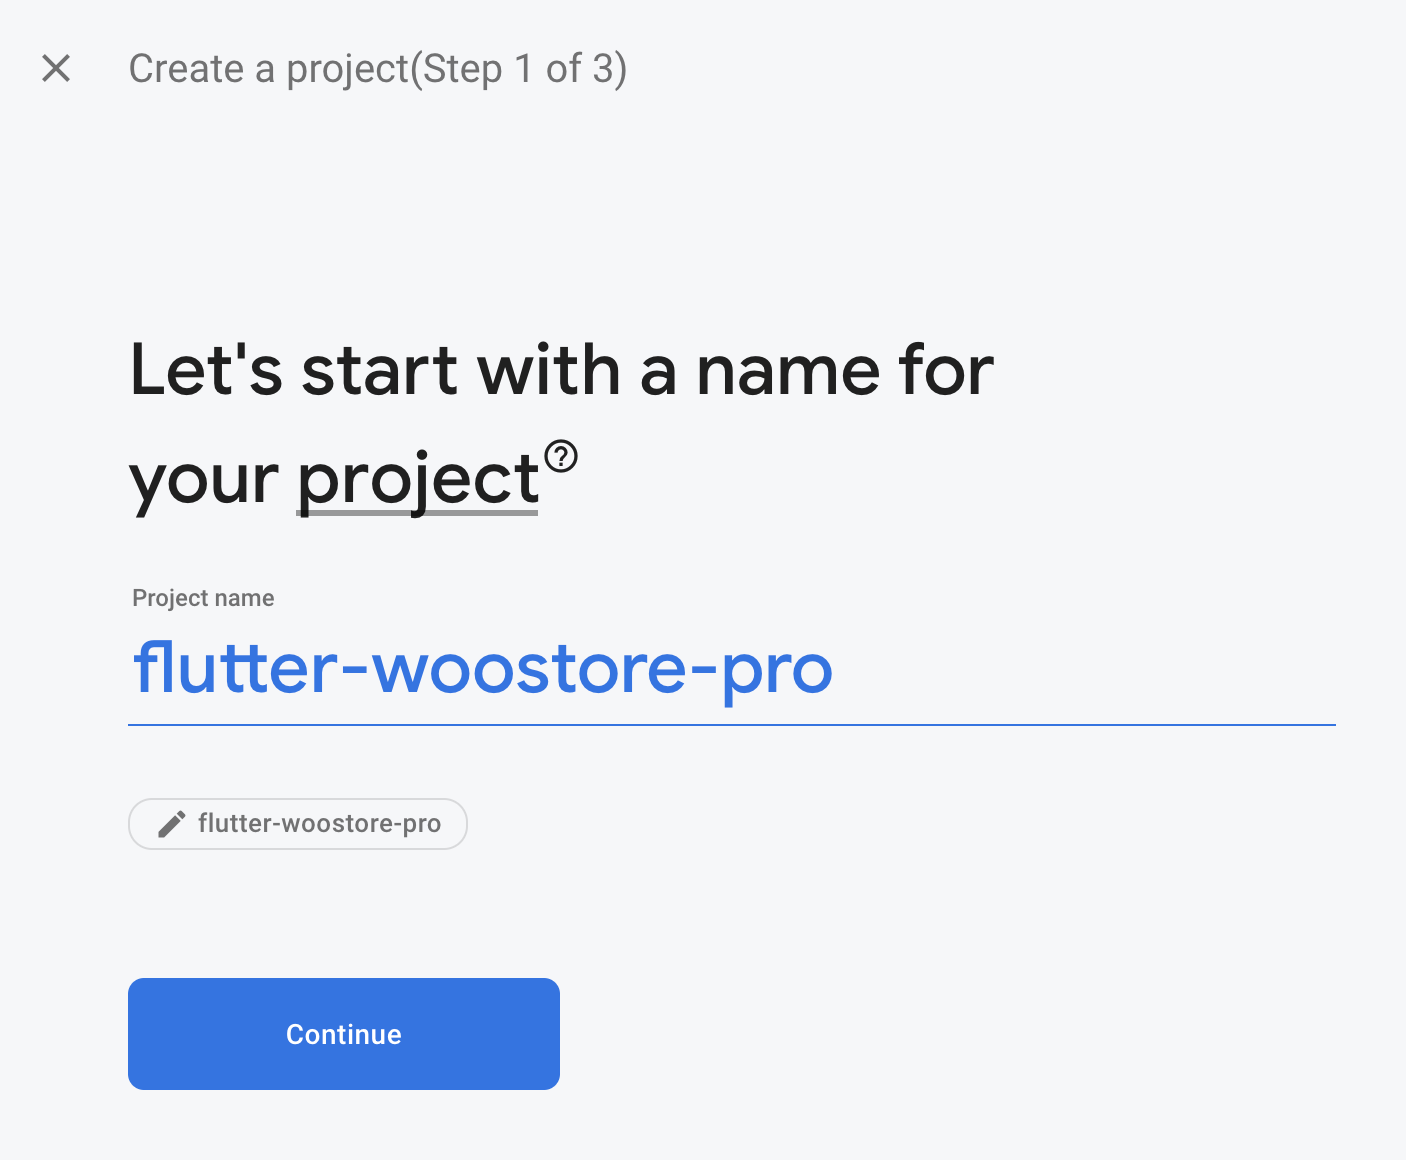
Add a Name for your project and click Continue. You can use any name that you want
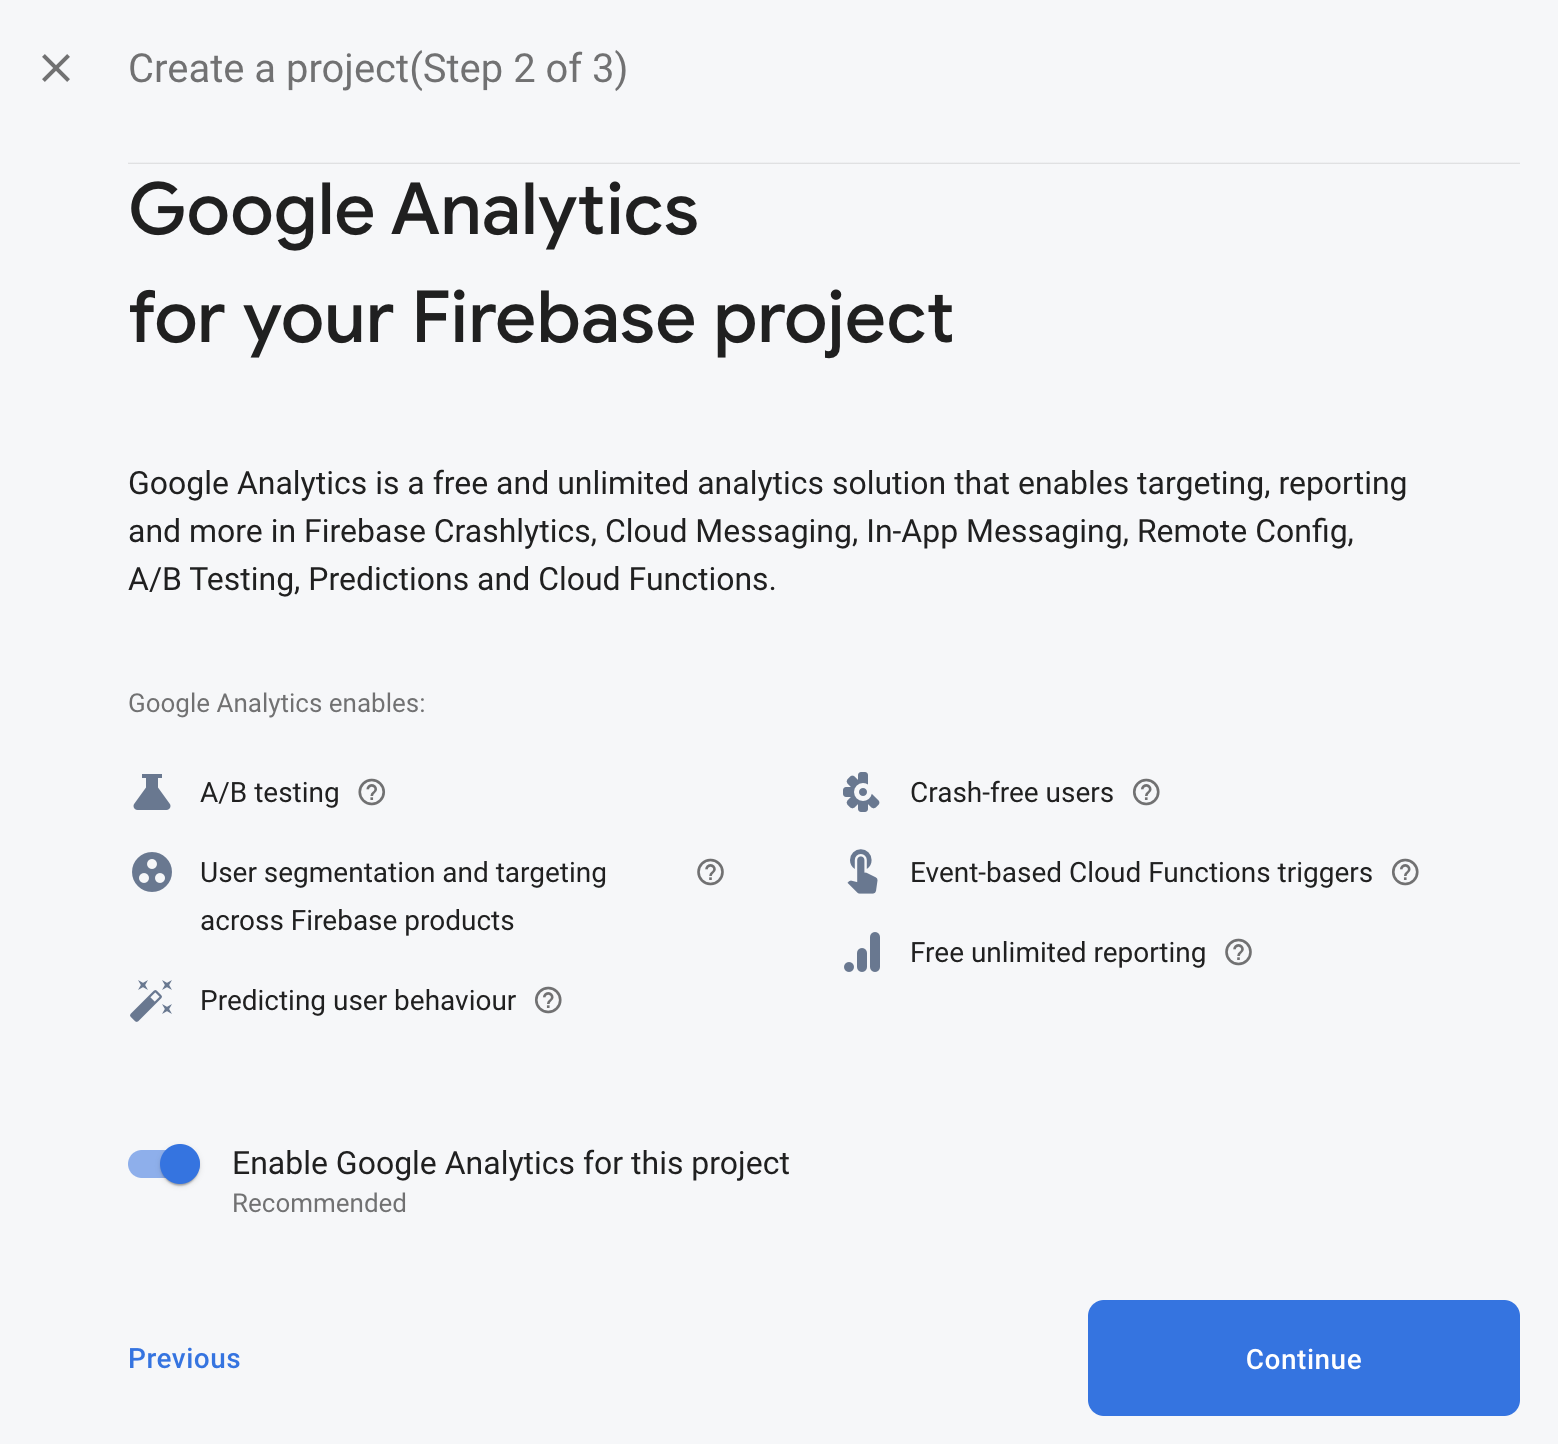
Click on Continue for Google Analytics for your Firebase project step.
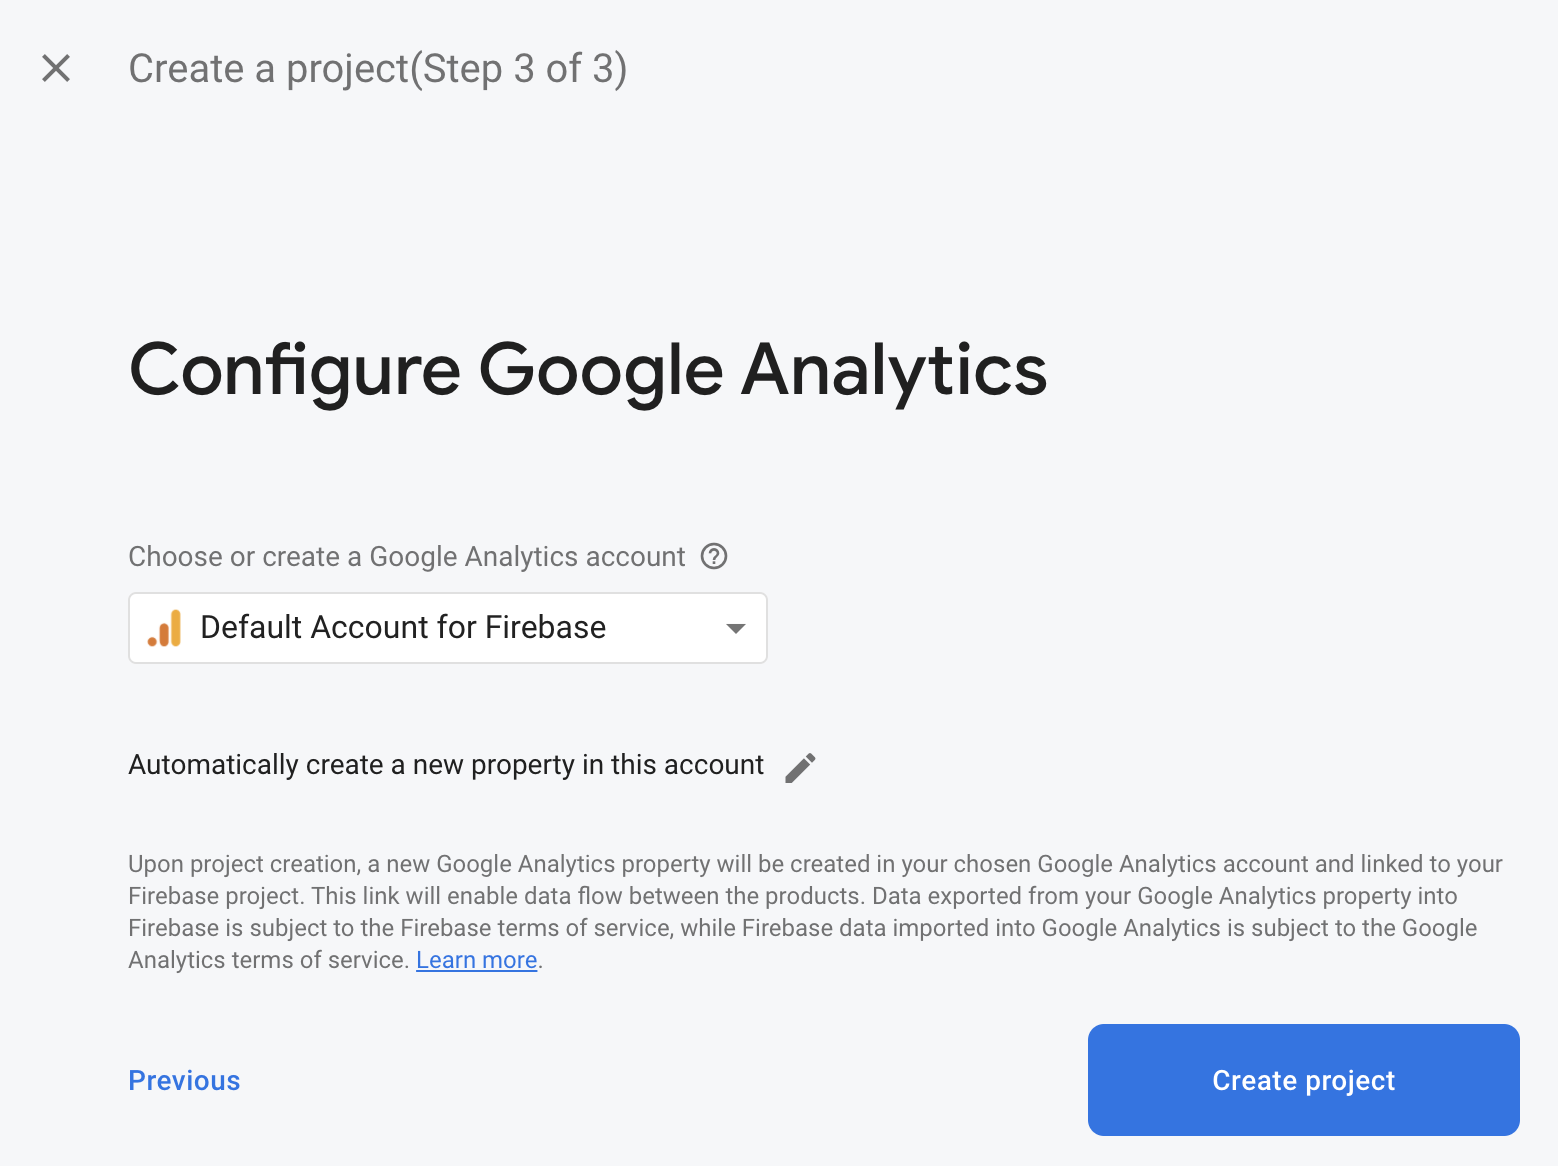
Choose or create a Google Analytics account and click on Create Project.
Once the project is ready, click on Continue.
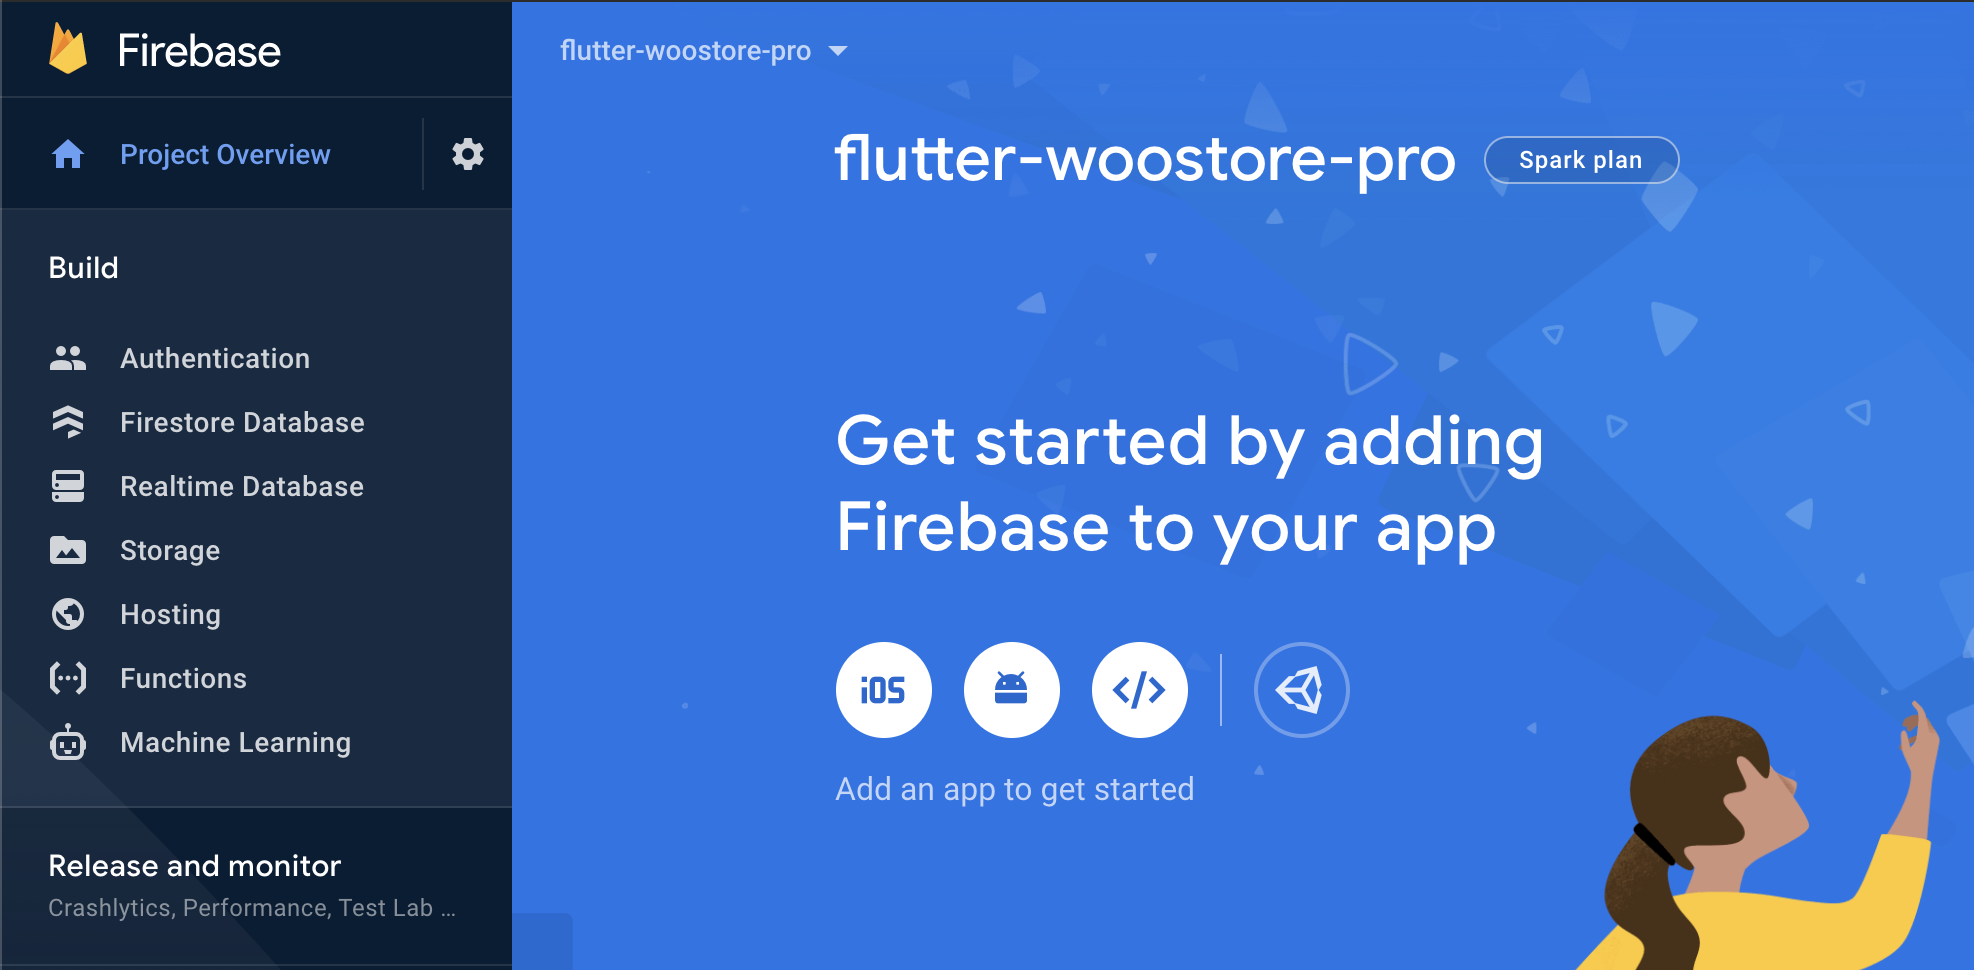
Once complete your dashboard will look like the following:
Create Android Application
Now we will create an android application in our Firebase Project and connect it with WooStore Pro. Follow the steps below.
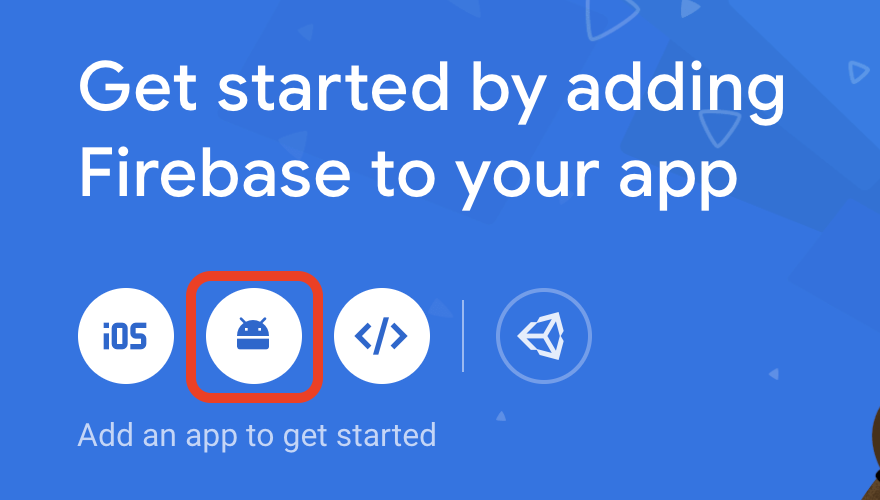
Under section Get started by adding Firebase to your app click on Android icon
Add Android Package Name and App nickname to the fields and click on Register App
infoMake sure that your Android Package Name is the same as you used while renaming the Bundle Id in the previous section here.
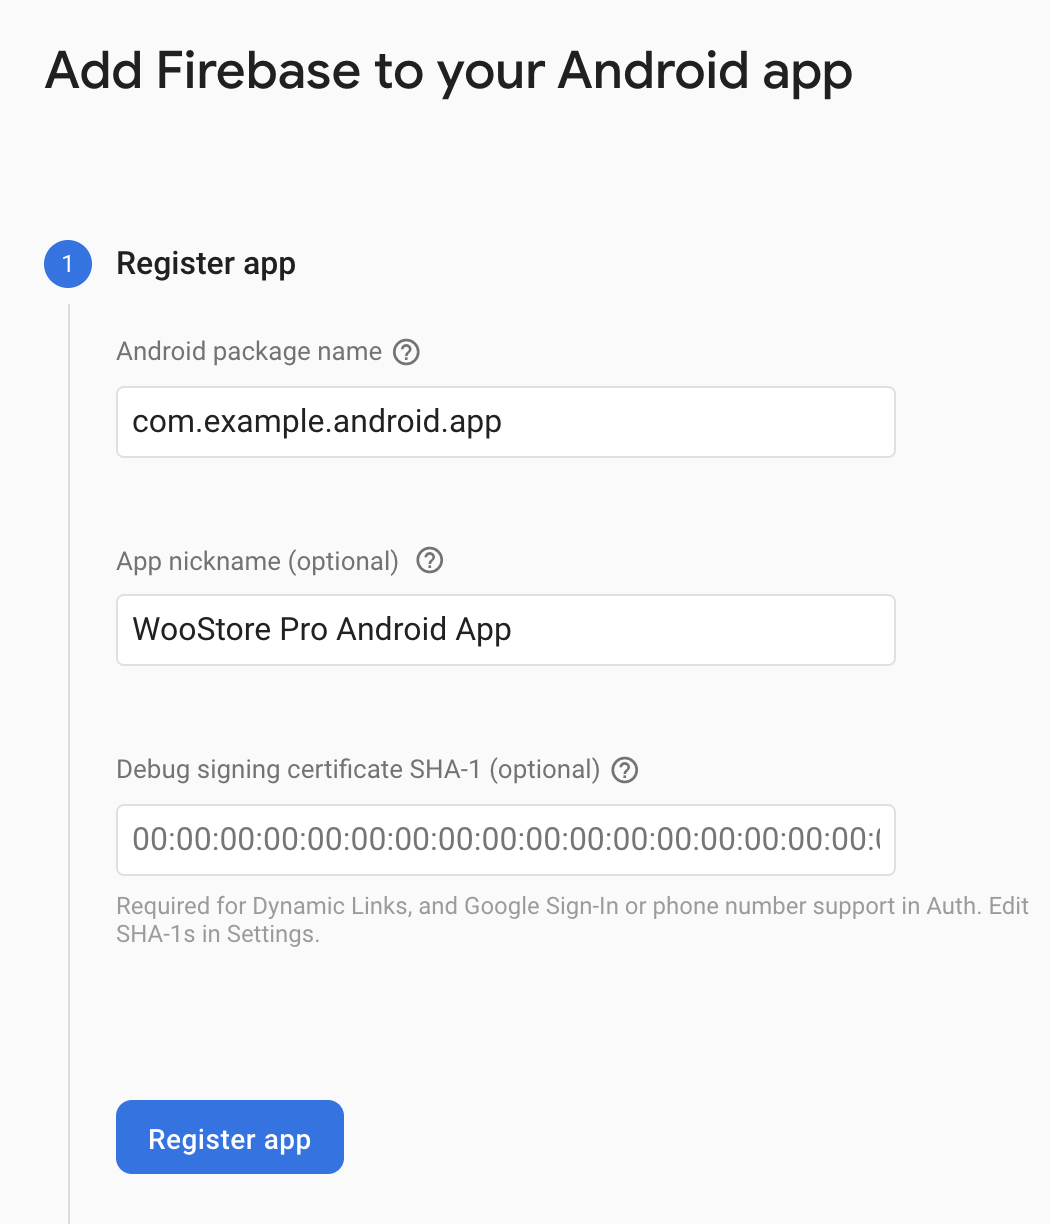
You can leave Debug signing certificate SHA-1 field empty for now. We will add it later on in the setup.
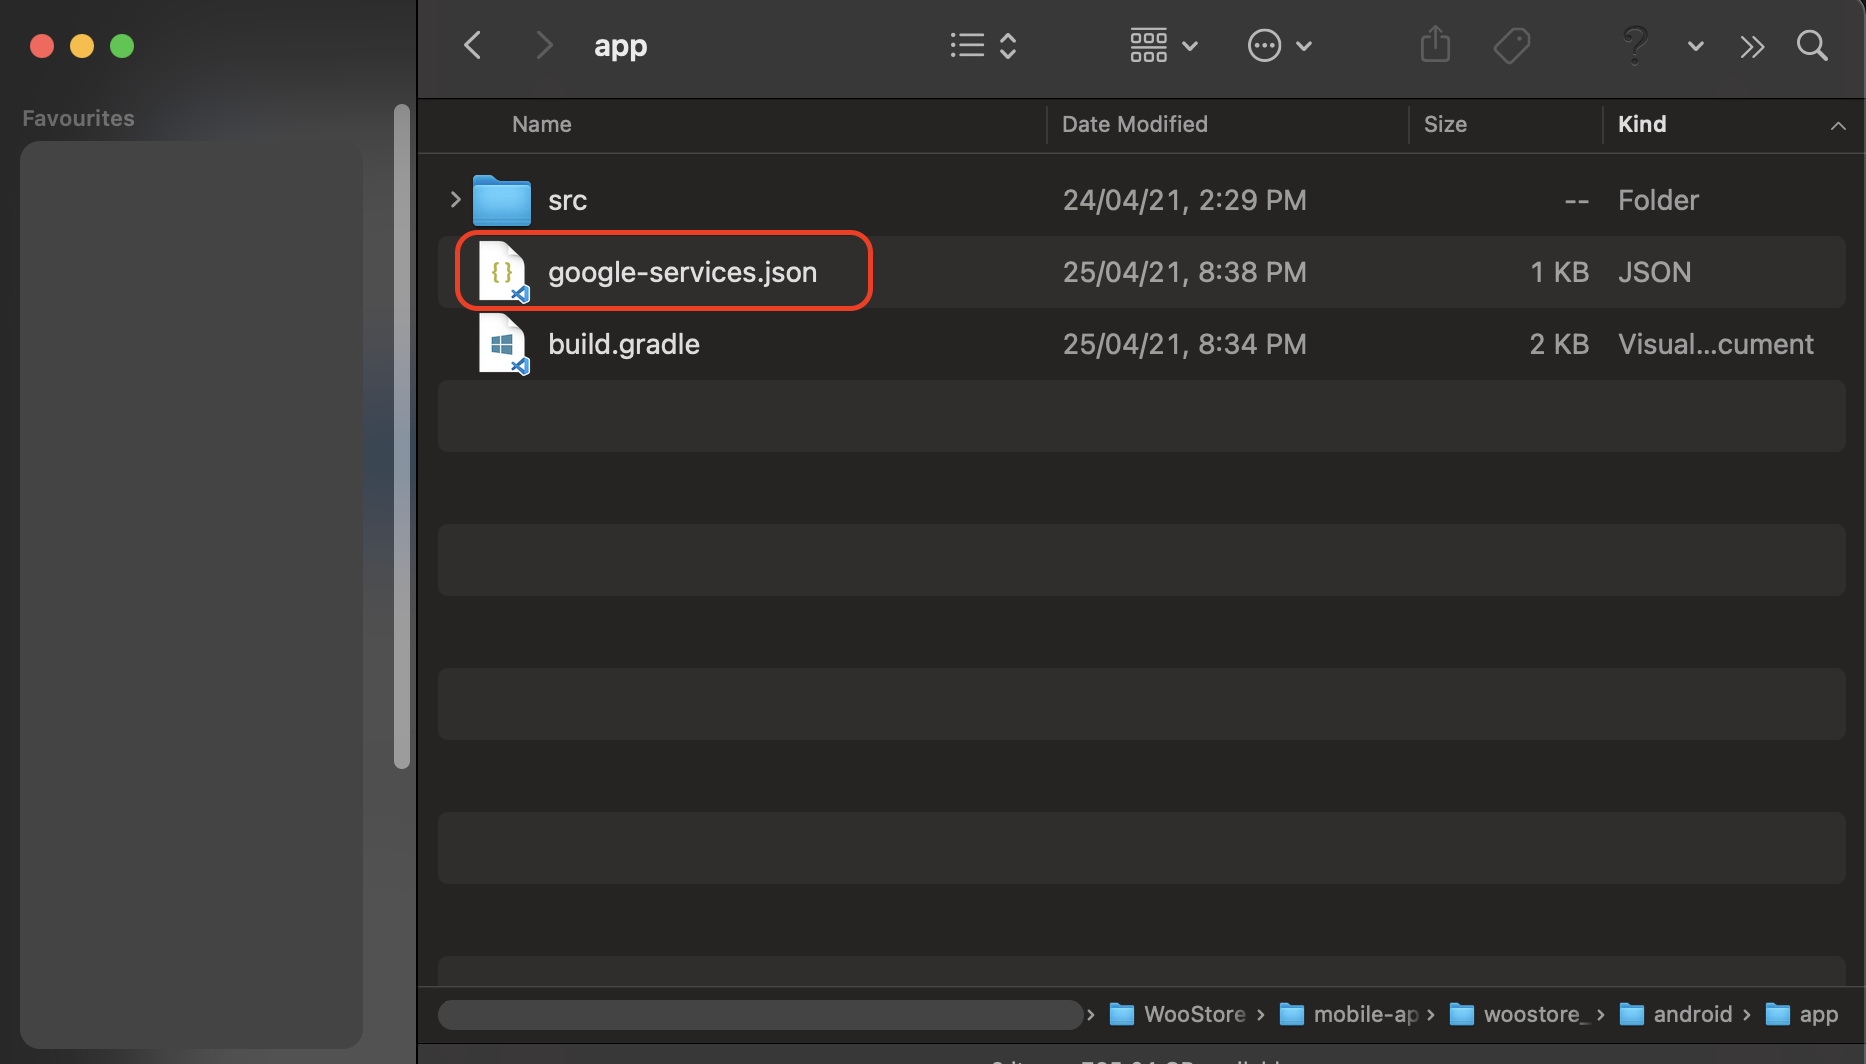
Download the Config file and place it inside woostore_pro --> android --> app --> google-services.json. You can replace any file which is already there.
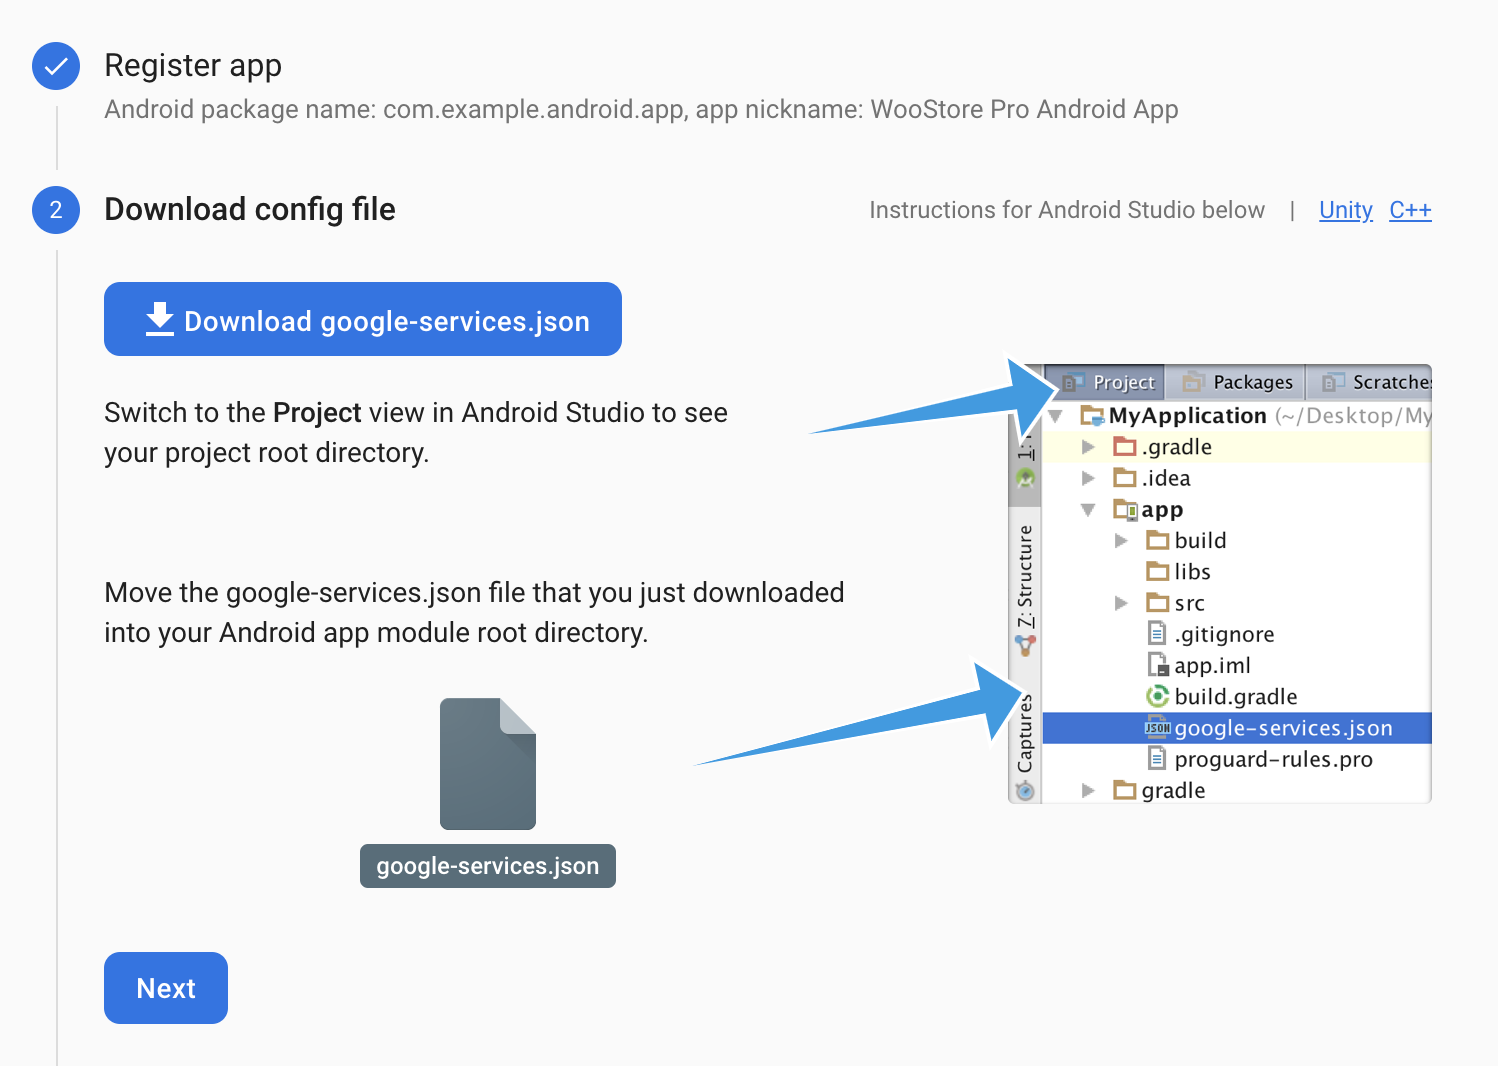
Click Next on all remaining steps and finally click on Continue to console.
Create iOS Application
Now we will create an iOS application in our Firebase Project and connect it with WooStore Pro. Follow the steps below.
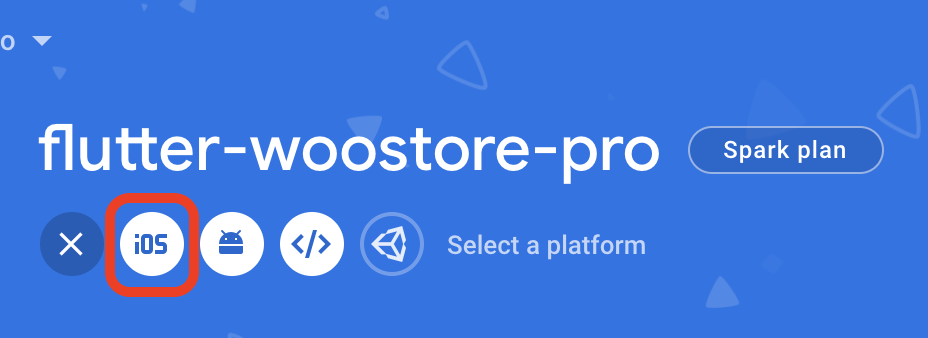
On your Firebase Dashboard click on Add App and then select iOS Icon.
Add iOS Bundle Id and App nickname to the fields and click on Register App
infoMake sure that your iOS Bundle Id is the same as you used while renaming the Bundle Id in the previous section here.
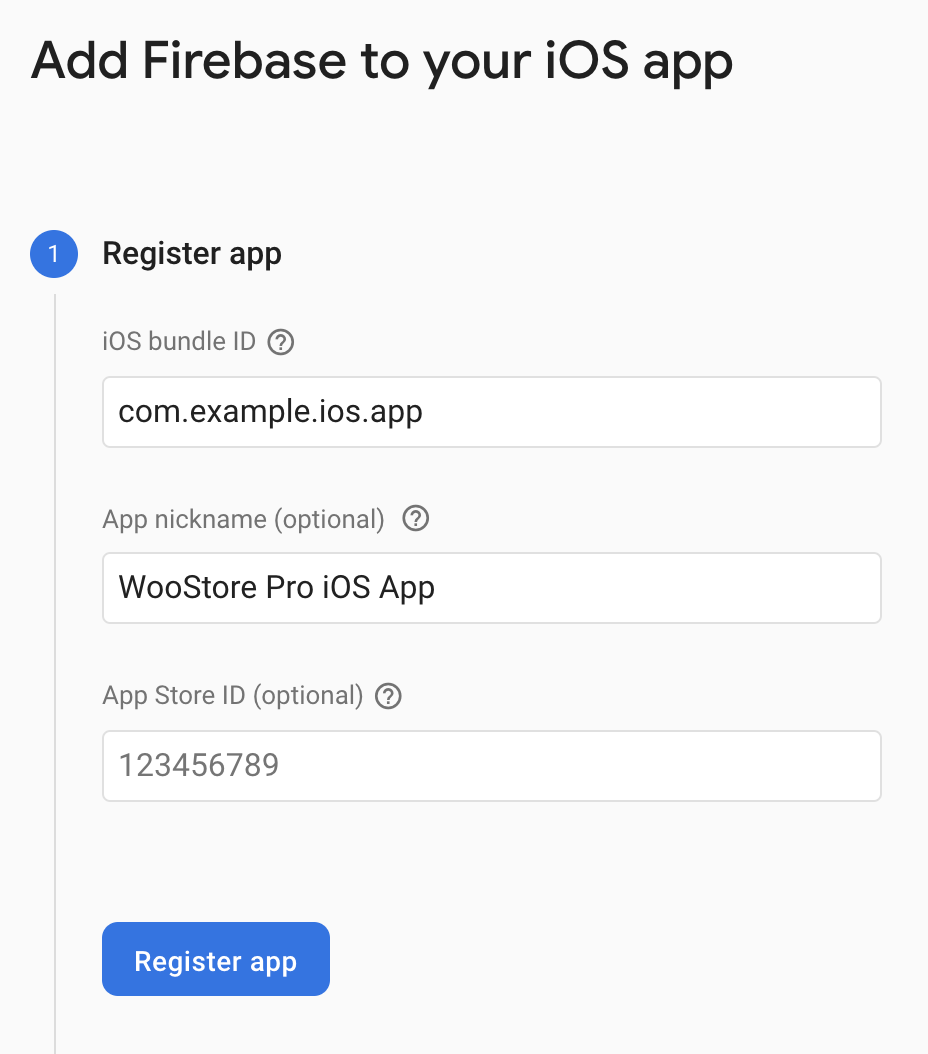
You can add the App Store Id later on when you will publish the application on apple app store.
Download the Config file.
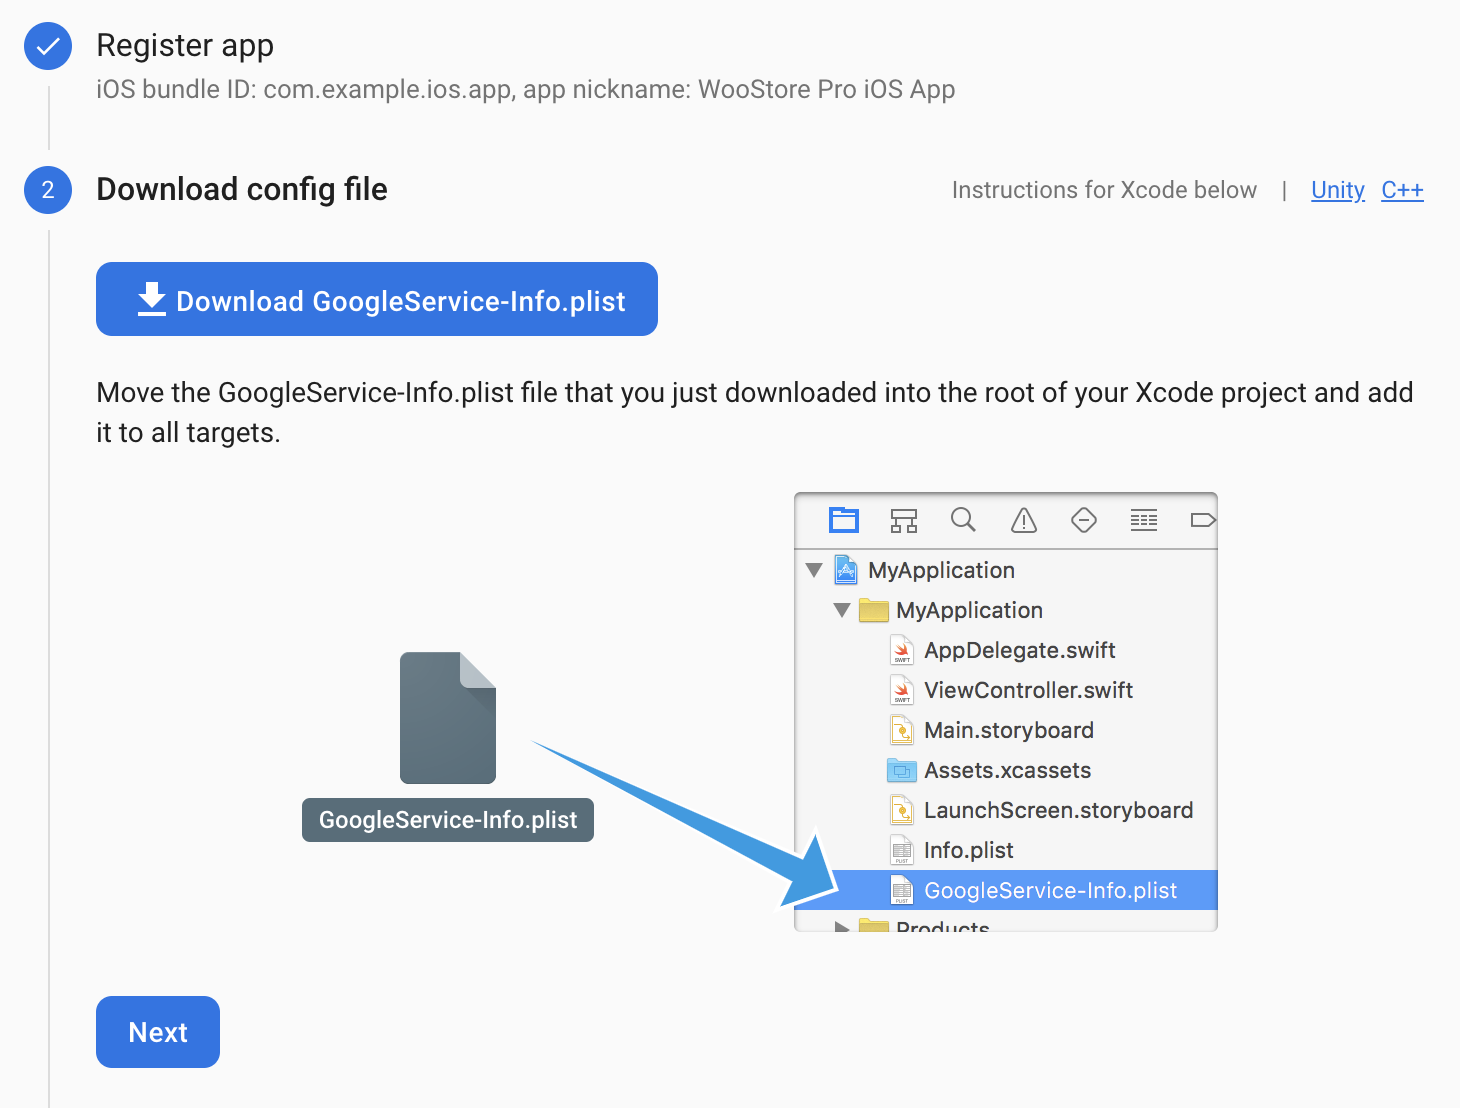
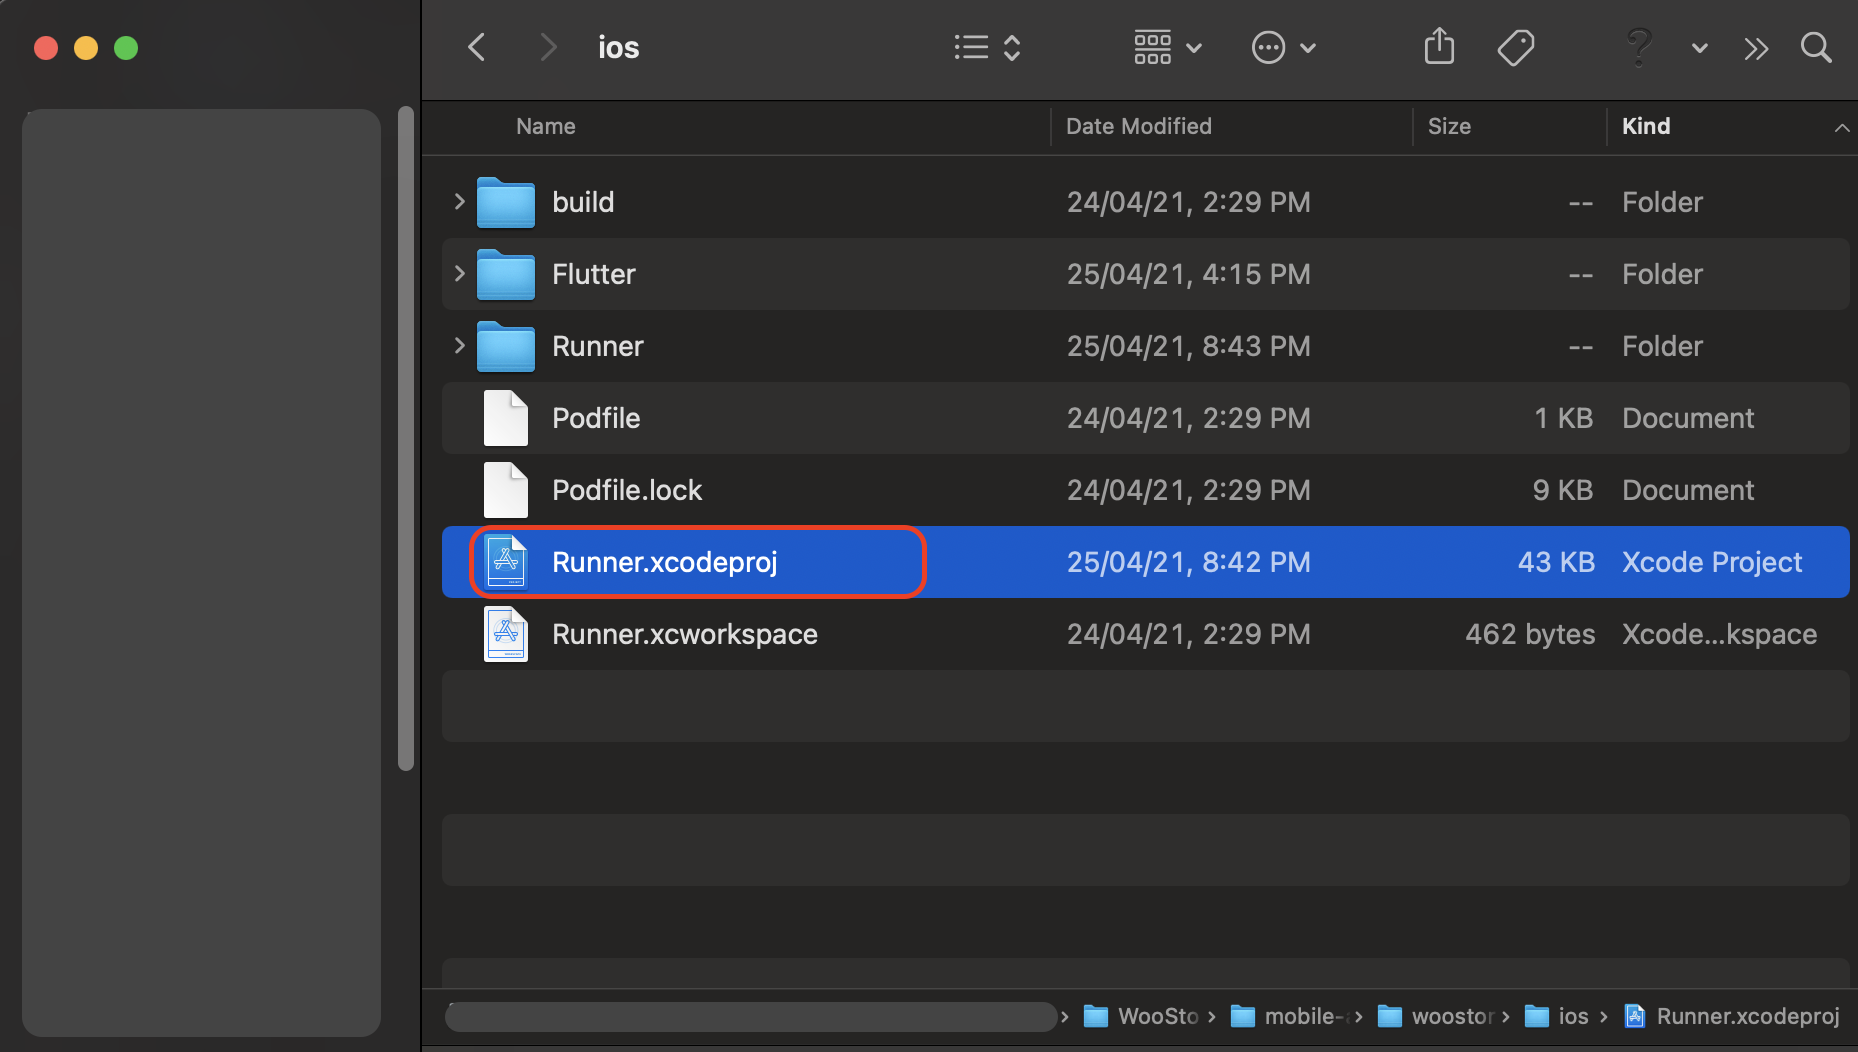
Open Xcode by clicking on the file Runner.xcodeproj. You can locate this file in woostore_pro --> ios --> Runner.xcodeproj.
Using Xcode, move the GoogleService-Info.plist file you just downloaded into the Runner/Runner directory of your Flutter app. A dialog will show up and ask you to select the targets, select the
Runnertarget.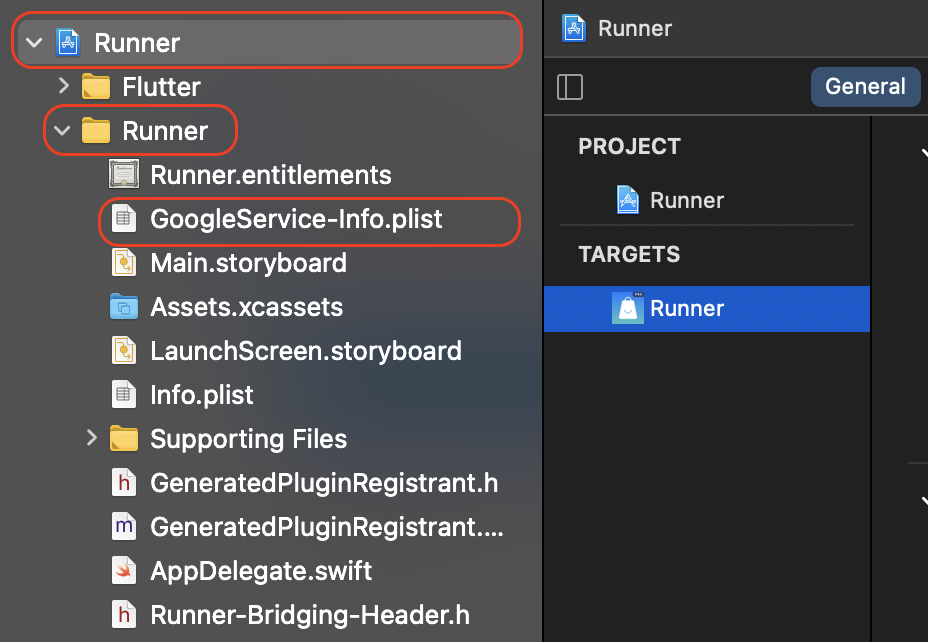
After doing these you can close Xcode and head back to Firebase Console.
Click Next on all remaining steps and finally click on Continue to console.
Now your Firebase Setup is complete and you can follow to the next steps.